Create a Public Folder on Exchange Online
and add it to Outlook Web App or a local Outlook
An Office 365 tutorial by Peter Kalmstrom
 An
Exchange public folder can be used by several people in
Outlook Web App or in their local Outlook installations.
It allows a group of users to view and send e-mails from
a common mailbox. These users can also share a common calendar. An
Exchange public folder can be used by several people in
Outlook Web App or in their local Outlook installations.
It allows a group of users to view and send e-mails from
a common mailbox. These users can also share a common calendar.
A public folder must be contained in a public folder mailbox.
Create a public folder in Office 365 Exchange Online
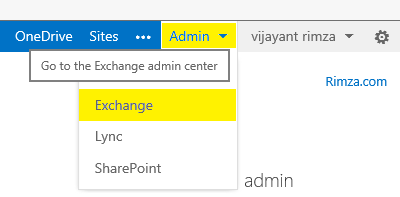
- In Office 365, go to Admin and select
Exchange.
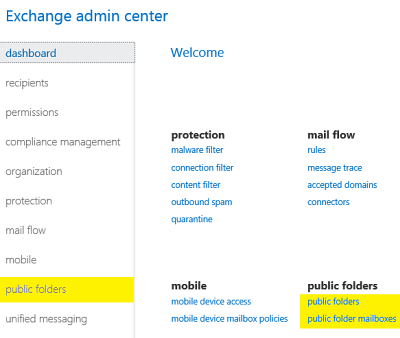
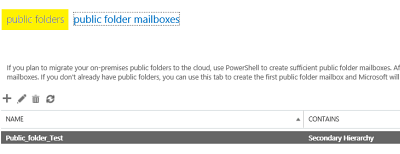
- In the Exchange admin center, select public
folders. (Use the links in the right panel
to manage your folders when you have created them.)
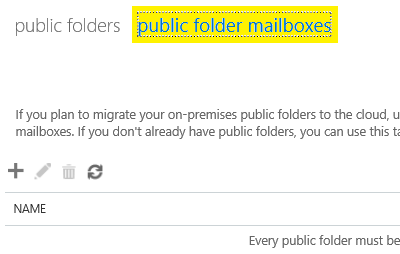
- A new dialog will appear. Select public folder
mailboxes in the top menu, because you have to create
a public folder mailbox before you can create a public
folder.
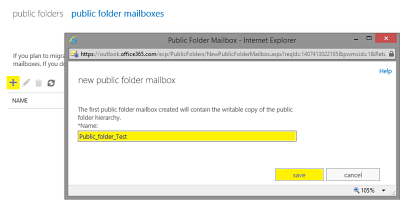
- Press the plus sign to create a
new public folder mailbox. In the new dialog, enter
a name for the public folder and click on
save.
- You will now see the newly created mailbox in the
list of public folder mailboxes. Select public
folders in the top navigation.
- Click the plus sign and enter a name for
the public folder. This is the name that will be visible
in Outlook. You don't have to enter anything in the
Path field. Click on save.

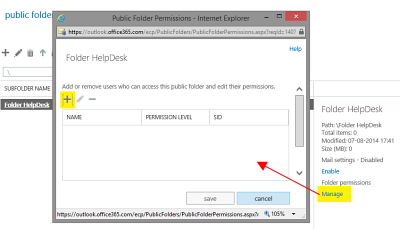
- Now you will see the new public folder in a list.
In the right pane, make sure the Mail settings are enabled.
Click on Manage to open a dialog that lets you
add people who should have access to the public folder.
Click on the plus sign.
- Click on Browse and select a person to whom
you want to give access to the public folder. When you
want to give access to many users, create a user group
and select the group just as you select regular users.
Define permission level for each user or group you add.
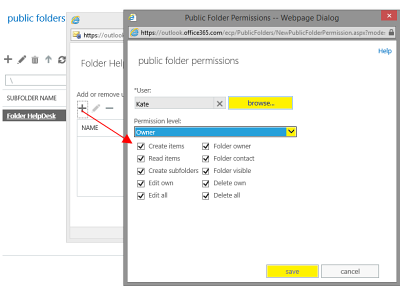
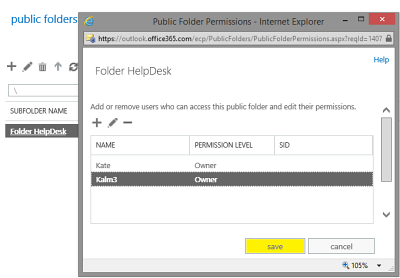
- Click save and then save again when
you have added all users.
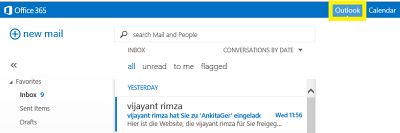
Add the public folder to Outlook Web App
- Open Outlook in Office 365
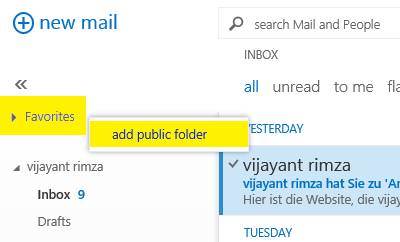
- Right click on Favorites and select add
public folder.
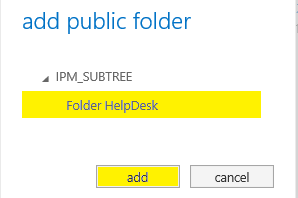
- Select the public folder and click add.
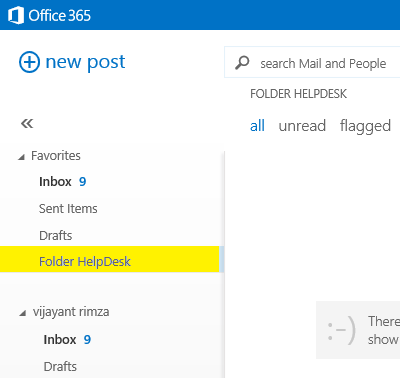
- Here is the public folder in Outlook Web App.
Add the public folder to a local Outlook
- Create a new Outlook profile: Open the Control panel
and go to Mail> Show profile >Add. Enter a name
for the new profile.

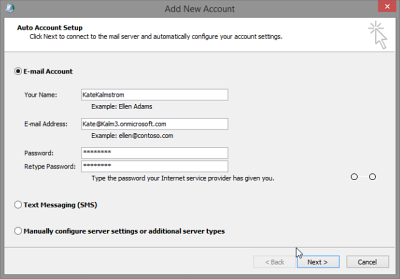
- When you click on OK an Auto Account Setup dialog
will be displayed. Enter your name and login details
to Office 365 and click Next.
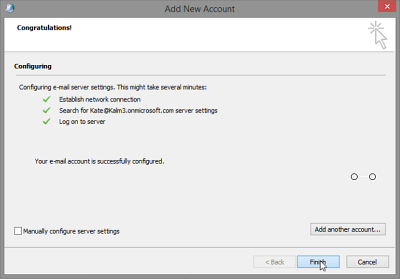
- Outlook starts configuring the e-mail server
settings. You will get a success message when this has
been completed.
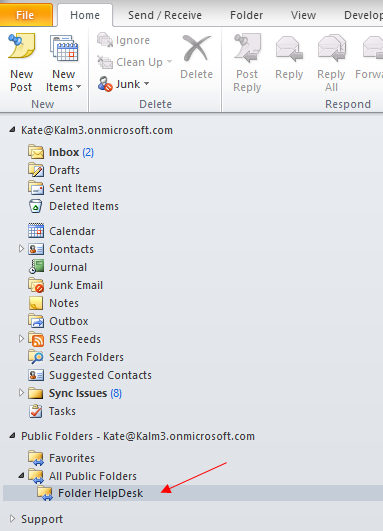
- Open Outlook and select the new profile when you
are asked to select a profile. Now the public folder
will be loaded into your local Outlook.
|
